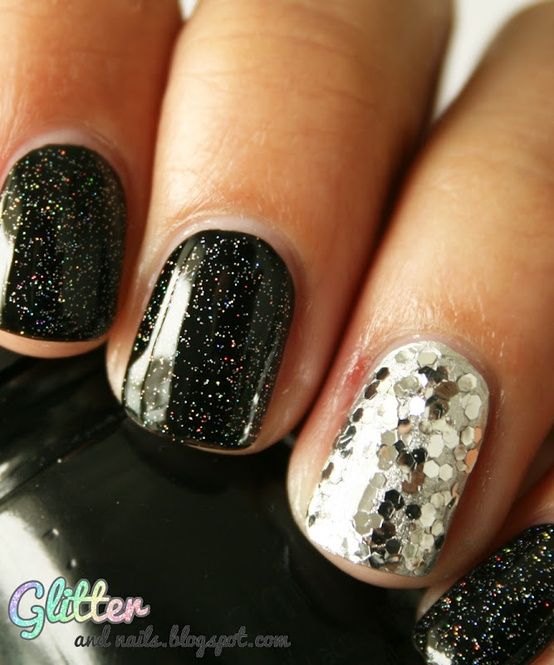
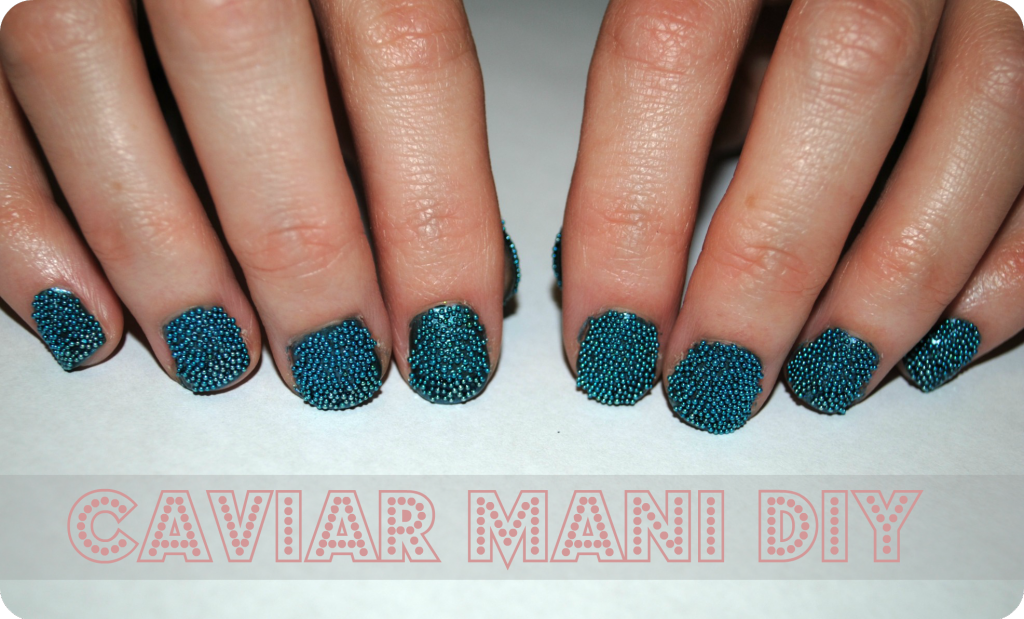
If you've been lurking around Sephora or some of the beauty counters at department stores, you've inevitably seen the new-ish "caviar" manicure. And while it looks amazing (and might I say perfect for a holiday party?), I find the price to be a bit ridiculous. I mean, $25 for a bottle of nail polish and some beads? Please. Just because it has caviar in the name, doesn't mean it should have a price tag to match. Here's how to get the same exact effect for way less. And it's super easy.
I found this container of microbeads at Michael's for about $3. You'll also need a small tray to catch the beads (I used the kind that comes with Chinese take out).
1. Paint one coat of an opaque polish on your nails and let dry.
2. Apply a second coat of polish to nails.
3. Position the tray under your hand, and while the polish is still wet, shake some of the beads onto your nail. Don't worry about the excess beads falling off; they'll be caught in the tray.
4. Press the beads firmly into the nail to ensure a longer lasting bond. If your polish dries quickly, I recommend doing this process one nail at a time.
5. Top with a clear coat to seal in the beads.
6. Using a small funnel, or piece of paper rolled into a cone (leaving a small opening at the bottom), pour the extra beads from the tray back into the container.
7. Admire your mani, and give yourself a pat on the back knowing that you didn't get suckered into spending 25 smackers on your nails. Smug sense of self-satisfaction optional.
A word of advice: Do your nails the day you want to wear them because this is not the strongest or sturdiest of embellishments. If you use your hands for anything - anything at all - the beads will start falling off. You have been warned.